Upgrading your landscape or simply wanting to try new things in your yard may require you to start a new lawn. Gone are the days when gardeners need to spend more, and you need not even call for professionals because resodding a lawn is easy even if you are alone. You may opt to start small by placing pieces of sod only to the areas that need resodding, or you can resod your entire lawn. It’s not that complicated. We listed several steps below that you can follow in starting your new lawn.
Do your Research
Look for grasses that are appropriate to your lawn. Don’t forget to consider what the needs of each grass are. Check if its maintenance is optimal for your schedule. And of course, think about your budget. There are lots of reputable sources online where you can do your research. Or better yet, you can visit your agricultural extension office.
Know your landscape
Take time to measure your yard. Doing this will help you in finding out how much sod you will be needing. Sod is commonly available in rolls. But if you don’t want this, you have other options, such as sods loaded on pallets or sold in square feet. If you have difficulties calculating how much sod you need for your new lawn, you can ask your dealer’s assistance.

Clear the Area
In the beginning, one must ensure that the sod’s area is clear of clutter before resodding a lawn. It includes removing old sod. You may rent tools like a rotary tiller to make your job easier. If your lawn is small, you may get away with small shovels and mattocks. Once tilling is done, remove clumps of grass as well as any materials. Make sure there is no grass left. The new sod that will be put above the unremoved grass will cause it to die and rot. You don’t want this since it will poison your sod’s roots, resulting in brown spots. You can also use herbicides to ensure no leftover grass/particles that will get in your way. An organic alternative for herbicide is weed-killing vinegar, which is available at most garden centers.
Check on your soil
Resodding a lawn successfully requires that your soil is in tip-top shape. From the tilling and raking you did in the previous step, your soil will surely be uneven. If you want to counter this, backfile low areas. You can also level the exposed soil with rakes or a water drum roller. You can proceed to add compost once the soil is at the right level. Be sure to spread about ¼” thick compost evenly. As much as possible, avoid clumping piles of compost. For an optimal mix between soil and compost, you may utilize a rototiller to combine it.
Moisten the soil
The next step in resodding a lawn is to moisten the soil. Spray the area where you plan to lay your new sod. It is to prevent the sod from wilting caused by dry soil.
Lay the strips of the sod
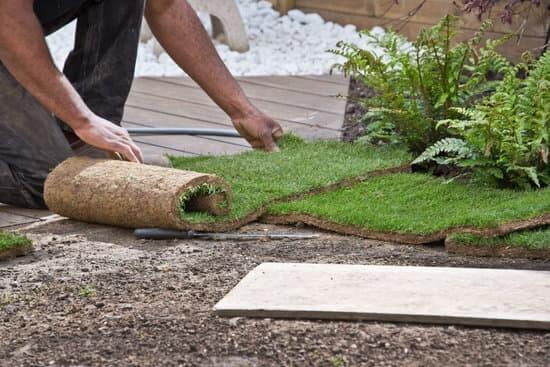
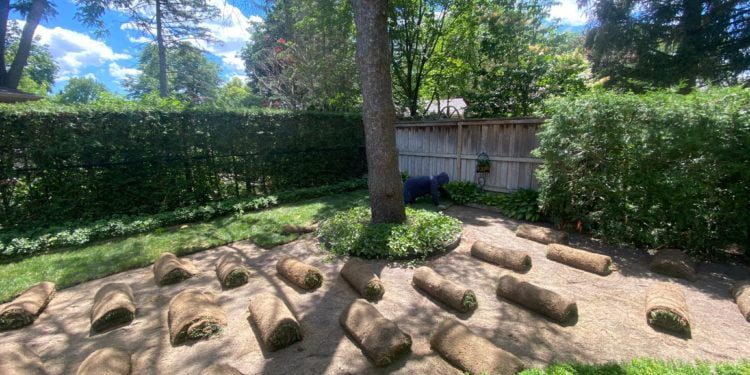
You can now proceed to put the strips of sod in your desired area. Make sure that the sod you are laying is fresh. You can make arrangements with your dealer so they can deliver on the day you are ready to plant it. Start laying the border edges that run against your landscaping. Lay the strips as you would brick for a wall. Ensure that there are no hanging strips by tucking the edges tightly. Identify the direction where you will roll the interior side according to the slope of your yard. To prevent erosion and moisture loss, run the lengths of sod across the slope. If resodding a lawn around a landscape feature, you can trim the strips with a utility knife according to the feature’s size and shape.

Moisten the sod
Once all the strips are laid, hose the area. Sods need moisture for their growth. To ensure that every part of the sod is receiving enough water, keep the seams tight. If not, this will cause the parts exposed to dry out faster. The success of resodding a lawn relies on how much you take care of your newly installed sod. Water it at least thrice a day until it establishes a healthy root system.
Although time-consuming, short, and frequent watering is more optimal for your sod than prolonged soaking. Don’t hesitate to check up on your sod by occasionally pulling up its corner to inspect for roots.


